
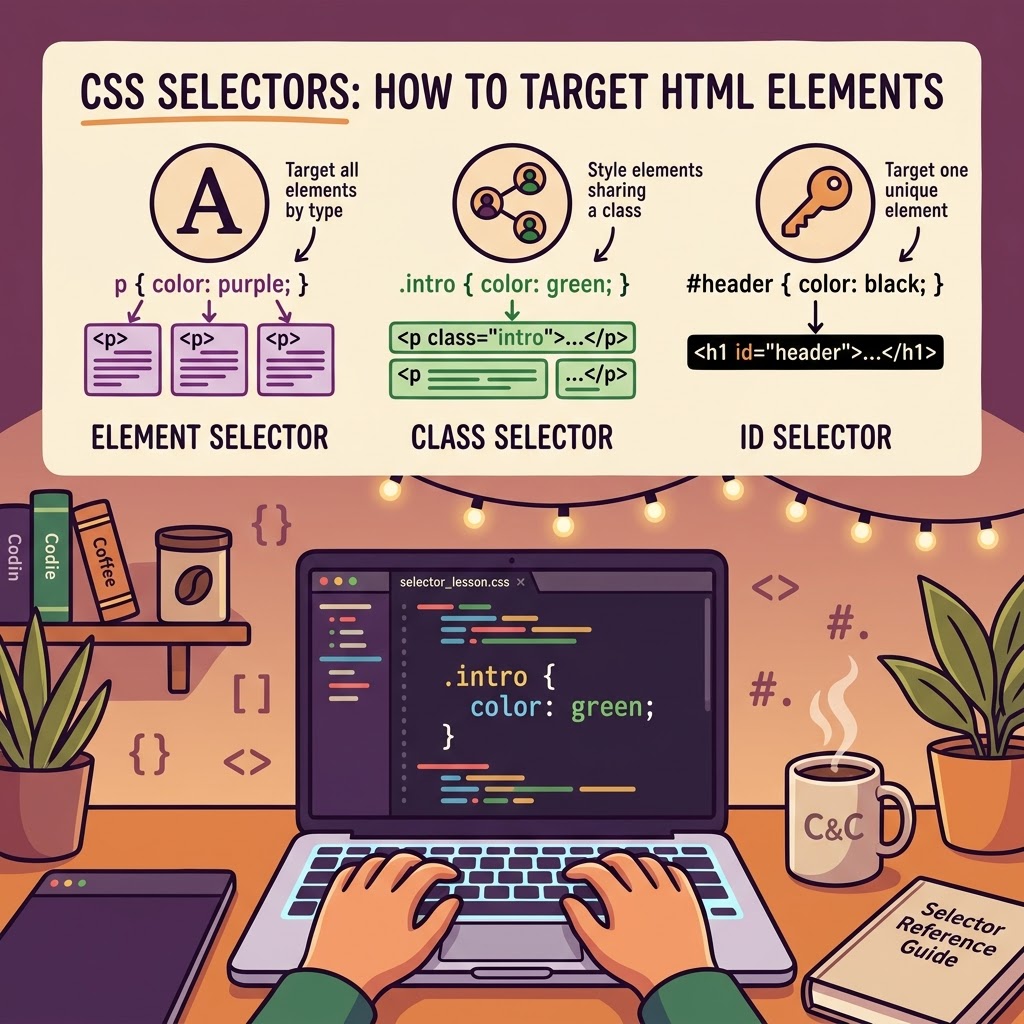
CSS Selectors for Beginners and Refreshers
Welcome back to Coffee and Coding! ☕
In our last lesson, we explored what CSS does and how it styles a webpage. Now, let’s learn how to tell CSS which elements we want to style.
That’s where CSS selectors come in!
What Is a CSS Selector?
A selector identifies the HTML element or elements you want to customize. You can target entire groups of elements or select specific ones using classes and IDs.
Let’s look at three common selectors.
1. Element Selectors
Element selectors target HTML elements by their tag name.
p { color: purple;}This changes the text color of every paragraph (“<p></p>”) on the page to purple.
2. Class Selectors
Class selectors let you target elements that share a particular class. In CSS, a class name begins with a period (“.”).
HTML:
<p class=”intro”>Welcome to my website!</p>CSS:
.intro { color: green;}Only elements with the “intro” class receive this styling. You can reuse a class on multiple elements, making it useful for applying consistent styles throughout your website.
3. ID Selectors
ID selectors target an element with a specific ID. In CSS, an ID selector begins with a hashtag (“#”).
HTML:
<h1 id=”header”>My Website</h1>CSS:
#header { color: black;}This targets the element with the ID “header”. An ID should be unique within an HTML document, so use classes when you need to style multiple elements the same way and use ID selectors to target single elements.
Which Selector Should You Use?
Here’s a quick recap:
– Element (“p”) — style all elements of that type.
– Class (“.intro”) — style elements sharing a class.
– ID (“#header”) — target one uniquely identified element.
Time to Practice!
Try changing the colors in these examples. Then experiment with adding the same class to two paragraphs.
Remember, learning to select elements is one of the first steps toward having greater control over your website’s design. Keep practicing, and the code will start making more sense with every lesson!
Leave a Reply